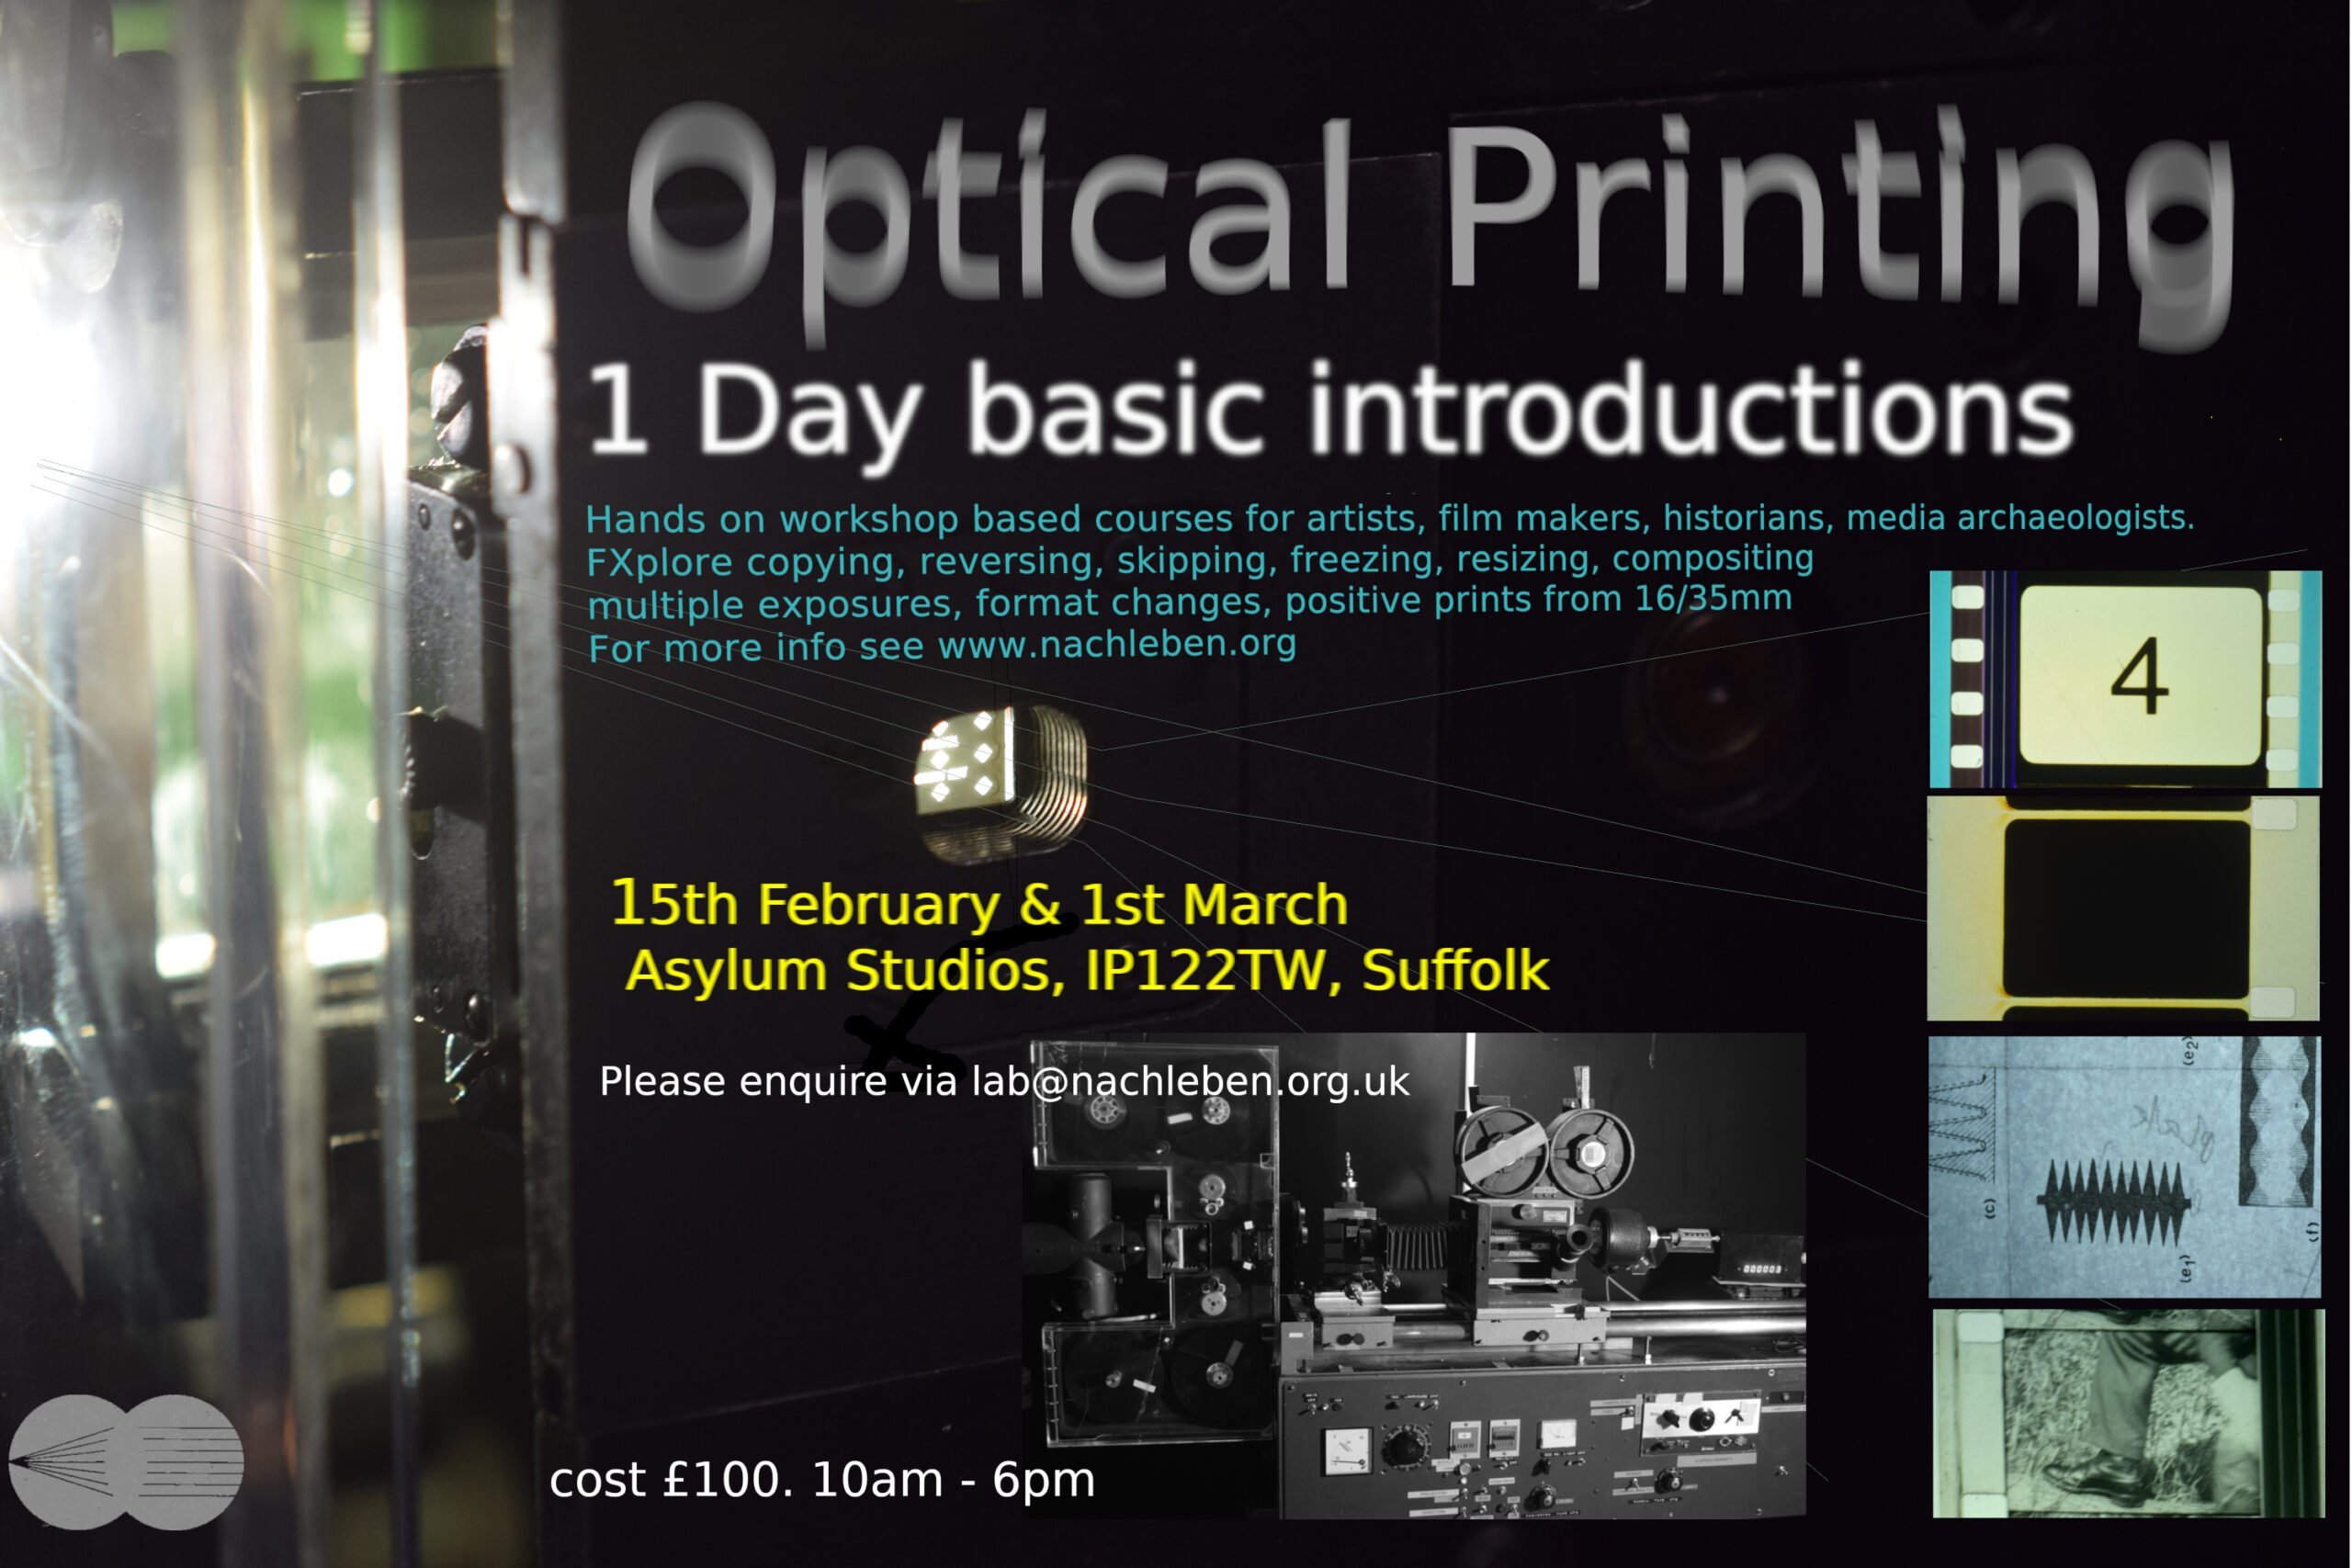
Here is some more Information for anyone who might be considering the 1 day optical printing workshops that I am running.
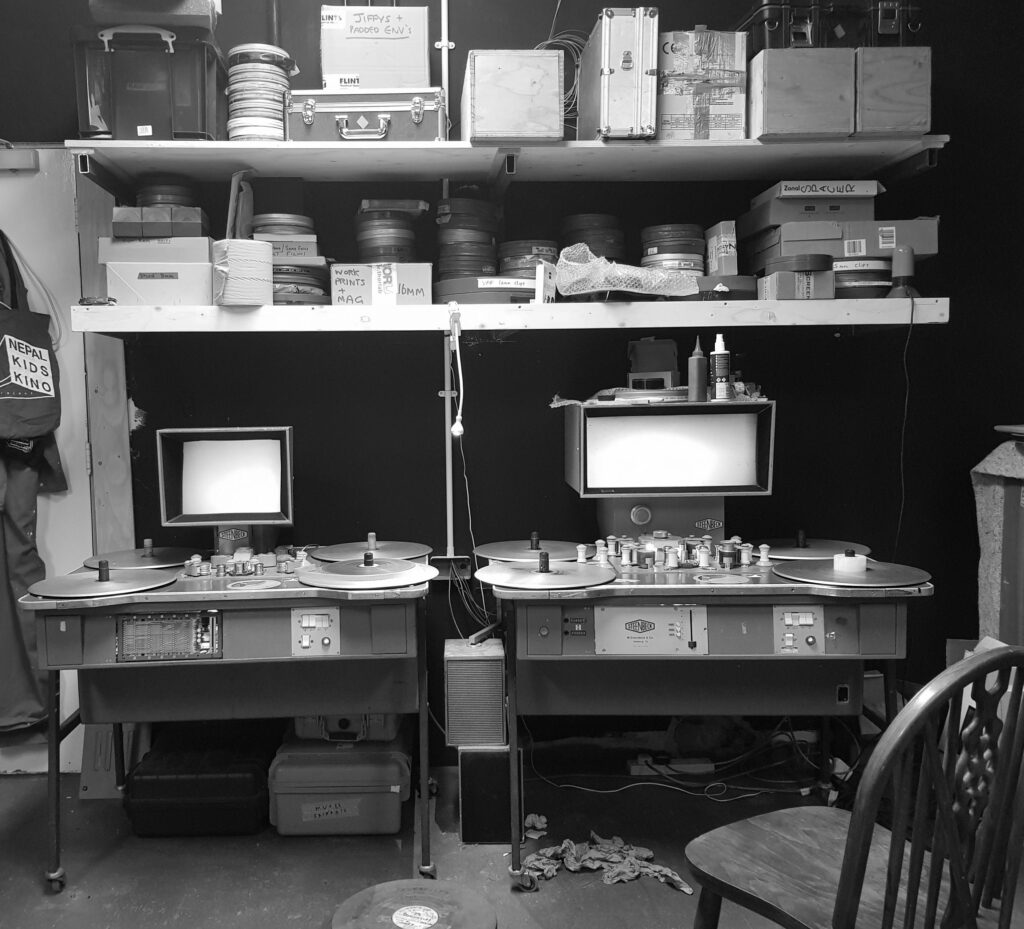
These day workshops are aimed at anyone who wants to have some hands on experience with an optical printer. We will be doing a variety of activities including viewing and selecting material on a manual examination table as well as 16mm and 35mm steenbecks, loading and exploring the printer and its geometry, making exposures to film, processing film and then further viewing and examination of results.
CREATOR: gd-jpeg v1.0 (using IJG JPEG v62), quality = 82
Because this machine and its processes are slow and methodical places on these sessions will be limited to about 4 people. This does depend however on what people want or expect so if there are folks with simple tasks in mind or are coming out of curiosity mixed with people with exact operations in mind then I might be able to accomodate more or less in each different mix of attendees.
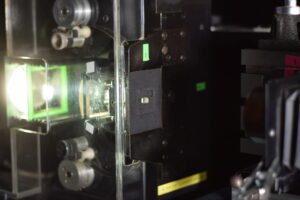
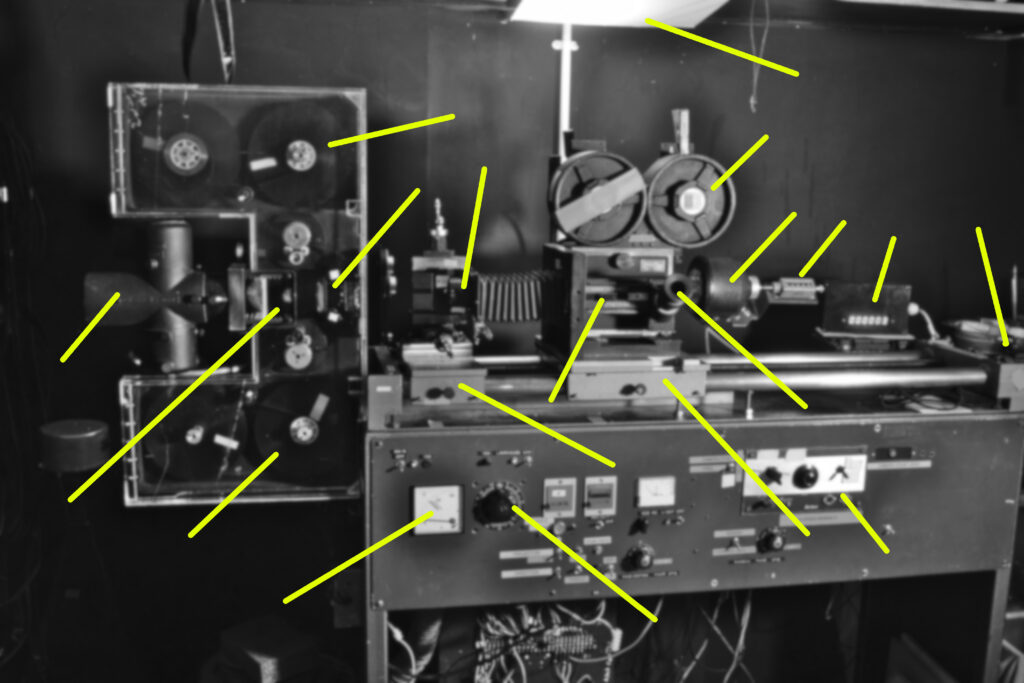
This course is meant to introduce participants to the basic functions, possibilties and uses of an optical printer. The printer here is an Oxberry/Neilson-Hordell hybrid and there are 35mm, super 16 and standard 16mm gates. Because of the cost we will be printing TO 16mm b/w positive stock, either ORWO PF2 or Kodak 3303. Both of these stocks are developed in a D97 process which is easy and we will be doing these here. In future courses we could start printing to Kodak 3383 which requiress a more involved developing process ECP.
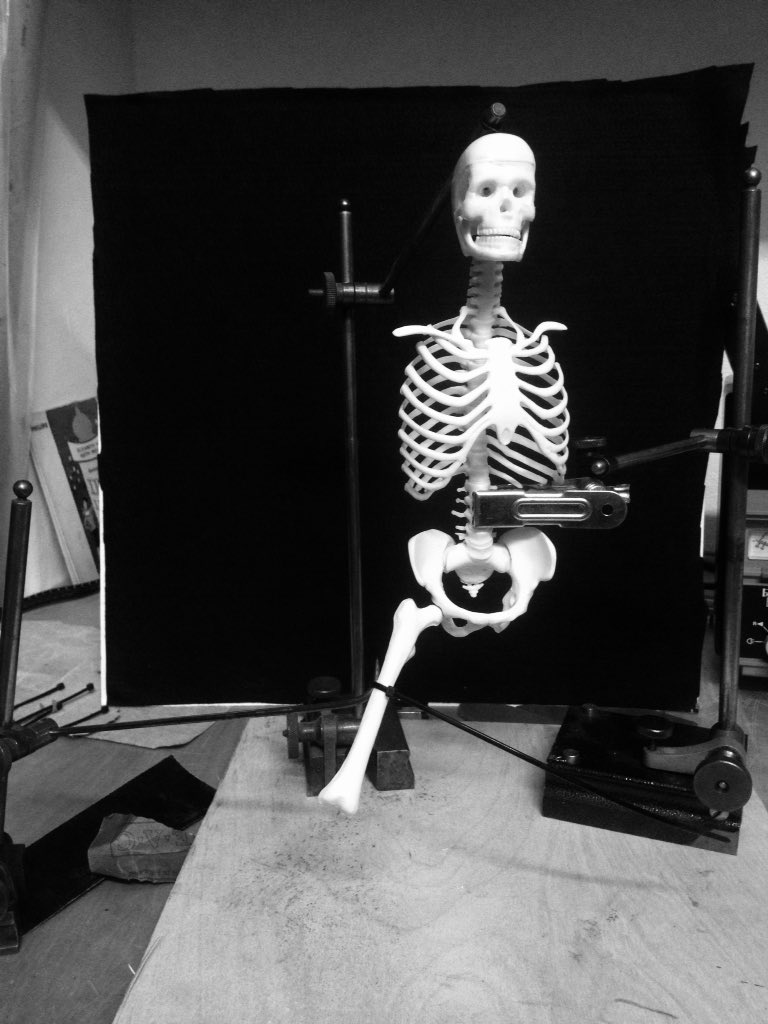
We will be printing TO 16mm and we are able to watch results on flat editing tables or projectors but the material that is being printed, or re-photographed, or duplicated can be either 16mm or 35mm. We could even re-photograph 35mm slides or b/w still negatives.
For these courses I am preparing a range of different material that participants can choose from. This is so that we can try different things and experiment and these are good ways to learn about the machine and its functions. For anyone who wants to attend I will send digital samples of the material before so you can prepare some ideas.
Of course if you already work with 16mm and have some material to use then this is also possible. Planning is a key stage in thinking through what an optical printer is used for. As they basically run 1 frame at a time they are like animation devices. My machine will run at 4 frames per second but there are reasons why I don’t like doing this. So we are not going to be producing long runnning times of film on these days. Also, as we are processing ourselves too, some dark room, hand developing skills will be required but if you are new to this then thats fine as it can be taught as well.
So, email me on lab at nachleben dot org dot uk if you are interested. If the dates of 15th Feb or 1st March are not suitable I can run these days at anytime.
7 rules:
1st Rule. The camera has a very restricted view.
2nd Rule. Everything that goes in the gate (projector gate) has already been photographed.
3rd Rule. All film stock Blackens when hit by light.
4th Rule. The printer is like an animation or stop motion camera.
5th Rule. Geometry of the picture can also be modified.
6th Rule. It’s wise to use a cribb-check list.
7th Rule. A negative/positive system must be thought about in the right way.
Some further notes or rules I have sketched out below. Please read through these as they may plant ideas and questions in your mind to explore when you come.
An optical printer is basically a type of specialised camera.
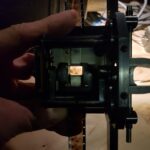
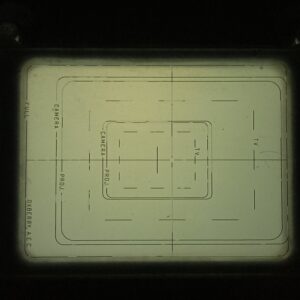
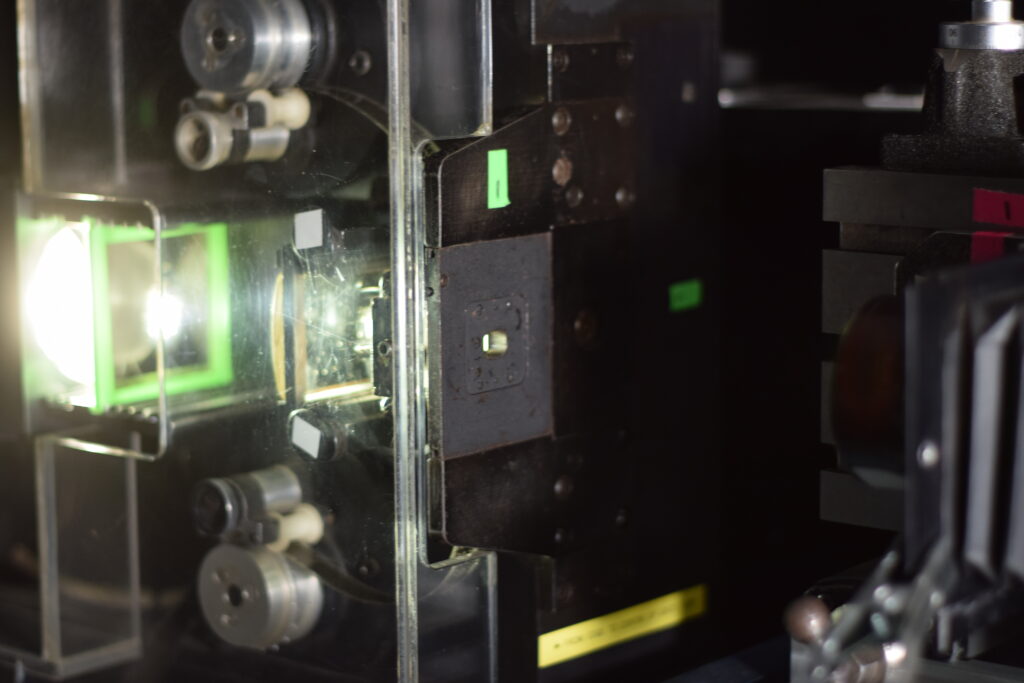
1st Rule. The camera has a very restricted view, infact a feature of its view is that it’s limited to the view of another piece of film, or an area that’s the size of another piece of film. However this can be altered by changing the lens/camera position and the lens itself and thus the field of view. My set up can cater for all kinds of lenses from
specialist copy lenses to Nikon F lenses to other types of lenses.
If a lens is of a wide enough focal length then parts of the machine become visible. And if the camera and lens are moved away from the subject enough then an area approx A5 becomes photographable.
The lens part of the camera moves seperately from the camera, usually on bellows, so essentially the system is a MACRO-PHOTOGRAPHIC set up. The projector part of the machine effectively projects the image into the gate of the camera.
When it is configured as a 1 to 1 copy, ie the height of the frame being copied is replicated in the camera, ie the subject is the SAME SIZE as the image then this 1 to 1 config is the beginning of true macrophotography. Macro photography actually make things bigger, it creates a bigger projection. In normal photography we are ALWAYS making the subject smaller, ie a person or mountain becomes the size of postage stamp.
2nd Rule. Everything that goes in the gate (projector gate) has already been photographed, or made, or processed or all 3. So thinking through what you are preparing or pre making is key in planning what you print. Elements in the gate can be changed but then print to the same continuous piece of film in the camera, a kind of crude editing but they can also be exposed over the same piece of film by rewinding the camera stock to an exact position, changing the target film and re exposing. This starts to resemble the compositing process and we will be looking at this in future advanced courses.
Its important to remember that the printer can make negatives or positives. It all depends on your overall workflow. It could just make a positive from a cut or series of negatives. It could make an internegative from a cut or series of negatives (this stock is only available on 35mm however, Kodak 2234). It could produce ‘elements’ like mattes by copying neg mattes to make their opposite. etc, etc.
3rd Rule. All film stock Blackens when hit by light. So following this rule when we RE-film a negative we will get a positive NO MATTER what kind of stock is our raw stock. But there are differences between negative stock and positive stock. One obvious difference is that negative stock by way of its use in a shooting camera has an exact ISO value. Positive stock however has no real published ISO value, if it did it would be very low, something like 4 or 5 ISO.
This is because the printer has a light built in that is bright. Infact it is usually too bright
and we use ND filters to bring it into exposure correction range. So when printing to positive
stock 2 things are important. 1 a wedge test on target photographed material , 2 ref to the
process times as a longer dev results in steeper gamma curves, ie more or less contrast (CI
contrast index) which might be factors in the look we are striving to achieve.
Coming back to printing negative material onto negative film. Kodak 7222 for example has an ISO value of 200T, so to get a correct exposure we will need a lot of high value ND filters. Now
negative film is also slightly more fragile and scratch sensitive whereas positive stock is
meant to run through a projector so naturally if we want a legible b/w positive made from negatives that we have shot then we print to a positive stock like PF2 or 3303. The lamp is typically run at 90 on the dial. As its a tungsten lamp, it’s optimal , white light output is achieved at this setting. If the lamp is turned down (for eg instead of using ND filters) the colour spectrum changes significantly which becomes a problem for colour film especially.
Well, I say ‘problem’ but Artists use materials and tools at their disposal differently from the idea of ‘Normal’ or ‘Correct’. So you could exploit this colour spectrum change in creative ways.
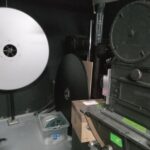
4th Rule. The printer is like an animation or stop motion camera. It only takes 1 frame of film at a time. It cannot run at sound or silent live action speeds like 24, 18 or 12 fps. It can
take a picture manually when you hit a button OR it can automatically take pictures in sync mode when a specific switch is thrown. In this mode (on my machine currently) each frame in the gate will get photographed once by the camera continuously.
1 to 1 shooting will result in a basic copy of the original albeit in a different, ie positive
format (if we have loaded positive film stock) and if the geometry is set up a certain way.
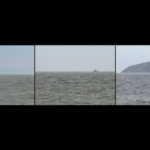
5th Rule. Geometry of the picture can also be modified by virtue of the fact that the lens is movable. It can move fwd/bkd which will effect focus. It can also shift up and down and side to side. These lateral movements have the effect of shifting the image, like
shifting the subject, whilst the camera remains fixed. These movements can be employed when doing something like composting smaller images within the frame, ie a twin screen 16mm, side by side composite which is a format often employed by the avant garde.
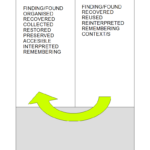
6th Rule. It’s wise to use a cribb-check list so multiple things can be set right before
shooting. It’s also a good idea to make an exact plan on what you are doing, including detailed
outlines of settings and sequences. This is because when the film is exposed and you are looking at it on a steenbeck you need to know exactly what the settings were on any part of the film. This is especially crucial for early wedge and ramp tests where the point of the test is to zone in on the look or image aesthetic that you want. Once you have ascertained the settings you can run a longer sequence.
For example heres the check list I use.
PRINTING CHECK LIST
A. Raw stock, laced, checked. 90 frames clear. ZERO on counter
B. Target film laced, perforation/splice damage check. ZERO on counter
C. Further Target material prepared….
1. Focussed / Aligned / Framed
2. Rack over
3. Take Ups check
4. Lens F stop
5. ND check / plan
6. Lamp at 90 / room light check
7. Camera speed / direction check
8. Camera shutter check
9. Counters set (note camera frame value)
10. Projector direction / speed / mode
11. Sequence plan
during shooting
12. Camera take up correct
13. Camera digital / mechanical counter match
14. Projector digital / mechanical counter match
15. Is the kettle on for tea, etc
7th Rule. A negative/positive system must be thought about in the right way.
A negative, whether its from the camera (OCN), or an internegative (IN, duplicate of an IP) transforms into a positive, legible, readable image when it is either contact or optically printed.
Think of it as rendering. If you cut up a load of OCN into a sequence you like, you can make positive prints from this edit. If you make an in-camera 100ft film on negative on a bolex with no splices you can either print this film to make a projection copy positive or if you foresee the need for many prints, you can make IP/IN copies so that the OCN material is kept in good condition as running negatives through a printer, or any machine will produce wear and tear.
The neg/pos system is being employed again here. The Orig’ OCN is being copied to an IP. An interpositive, a positive image on a negative (orange hue) film stock base. Then if this is printed again, it will be an internegative. We are always going from neg to pos, pos to neg like making molds and then casting a new form.
So the neg/pos system are two sides of a single coin. One is not complete without the other. Forget ‘reversal’ film for now. Reversal film is just a way to get a positive image as quickly as possible from the camera film which is infact what it is. It was developed for amateurs and the home movie market because home movie makers didn’t or couldn’t use a neg/pos system and it was thought that home movie makers would not need dozens or even hundreds of copies of their films which was right, they didnt!!
There are some exceptional Artists who work with and use Reversal film in a process that involves printing or copying (Gaëlle Rouard comes to mind) but the unique artifactual value of the finished film just goes up and up the more this process is followed, and final films are projected adding to the deterioation. Perhaps life is too short to worry?
